


How to Grow Pea Microgreens at Home
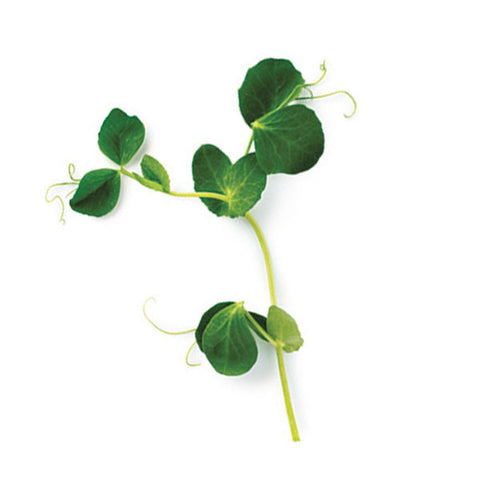
Previous PostPea shoots or pea microgreens are one of most noticeable garnishes in a variety of recipes like Buddha Bowls, wraps, omelettes and sandwiches. The shoots with curly tendrils not only add texture and flavour to these recipes, they add significant nutrition too.

Pea microgreens are also very easy to grow and get ready to harvest in around 12–14 days.
Pea microgreens are small in size but can offer a useful range of nutrients. A 2025 study published in Scientific Reports found that pea microgreens contained a significant amount of ascorbic acid per 100 g fresh weight, along with notable amounts of potassium, magnesium, calcium and phosphorus.
If you are new to growing microgreens, our Pea Microgreen Seeds are a good place to begin. The seeds are non-treated, open-pollinated and non-GMO, and can be grown in soil or hydroponically.
Things You Need to Grow Pea Microgreens

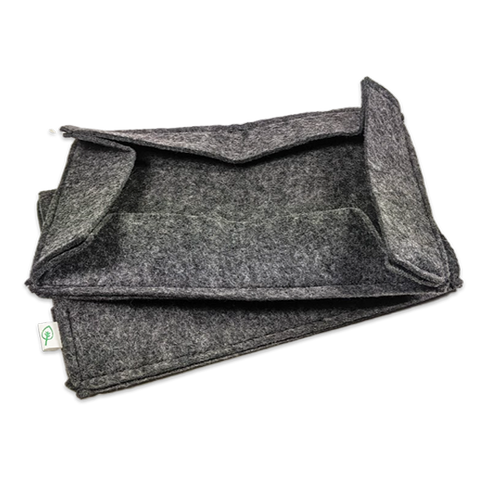
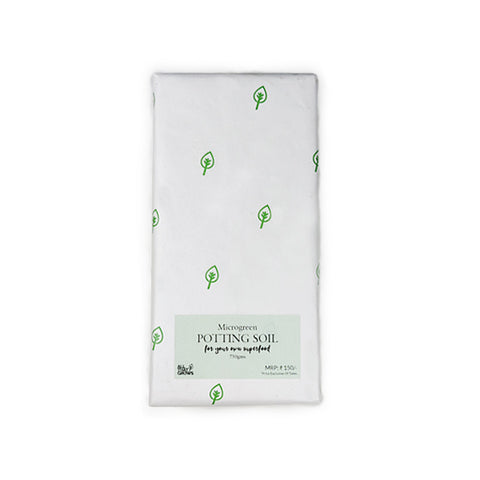
Growing pea microgreens requires very minimal supplies you can easily find around the house. Order pea microgreen seeds, find a shallow tray (plastic food containers will also work)or garden pot/fabric tray at least 4–5 inches deep, clean garden soil or potting mix, a little vermicompost, water and a spray bottle. You will also need a pair of clean scissors for harvesting.
Step-by-Step Guide to Growing Pea Microgreens

1. Soaking Seeds
Since pea seeds are large in size, soaking them overnight in water can soften the seed shell and help accelerate germination. Place the pea microgreen seeds in a bowl and cover them with clean water. Leave them to soak overnight. Drain the water well before sowing.
2. Preparing the soil
Fill your tray or container with clean, well-draining soil or potting mix. Mix some vermicompost to add organic matter and nutrients. Keep the surface level and lightly moisten it before sowing the seeds.
3. Sowing Seeds
Scatter the soaked seeds generously across the surface of the soil. Try to spread them evenly making sure the seeds are not sitting on top of each other. Then cover the seeds with a very thin layer of soil. Remember, overcrowding the seeds can lead to fungal diseases in the roots.
4. Blackout Period
Place the tray in a warm, shaded spot for the first few 2 days. Mist the soil gently whenever it starts to feel dry, taking care not to disturb the seeds. Adding some weight on top of the tray during this blackout period also helps with germination.
5. Exposing to Light and Air
Once most of the seeds have sprouted, move the tray to a bright location with good air circulation. A sunny balcony, windowsill can work well. Around 4–5 hours of good sunlight will help the pea shoots develop and grow better.
6. Harvesting & Storing Pea Microgreens
Under ideal growing conditions, your pea microgreens will get ready to harvest within about 12–14 days. When the shoots are 4-5 inches tall, use clean scissors to cut them just above the soil surface. Avoid harvesting immediately after watering; allow the growing medium to dry for a few hours first. Wash harvested pea microgreens under running water before consuming. If you want to store these microgreens, wrap them in damp paper towels and store in the crisper section of the refrigerator, they will stay fresh for 2-3 days.
Recipe:Open Breakfast Toast with Pea Microgreens

Fresh pea microgreens are not just for salads. Try making a simple open toast for breakfast or a light snack.
Ingredients: 2 slices of wheat bread, ½ cup crumbled fresh paneer or cottage cheese or any other protein of your choice, a handful of freshly harvested pea microgreens, ½ tomato slice, a pinch of salt, black pepper and a squeeze of lemon juice.
Toast the bread or pan fry with minimal butter or olive oil. Then spread the paneer over each slice. Add sliced tomato and a generous handful of freshly washed pea microgreens. Finish with salt, black pepper and a little lemon juice. The mild pea flavour and tender shoots add freshness and texture without much preparation.
Growing pea microgreens at home is a simple way to bring fresh greens into your everyday meals. Once you have tried one batch of these microgreens, you can keep sowing new trays and enjoy home-grown microgreens throughout the year.
Happy gardening!




Leave a comment